SKU #10597
Nahttrenner mit automatischem Klingenrückzug
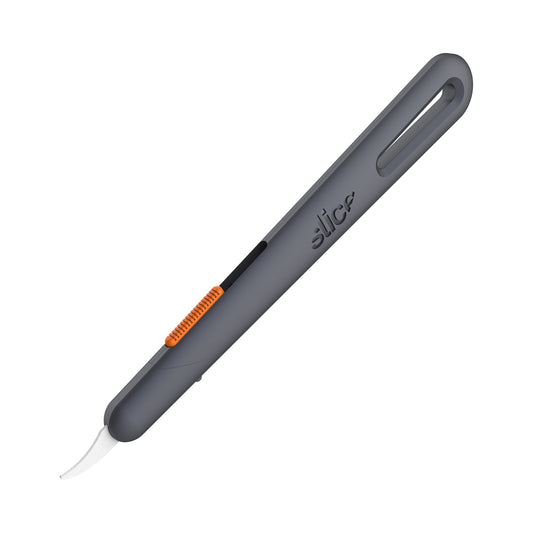
Der Slice® 10597 Nahttrenner mit automatischem Klingenrückzug eignet sich hervorragend für den Einsatz in Industrien, wo feste Klingen verboten sind oder für jeden, der auf der Suche nach einer sicheren Alternative zu einem herkömmlichen Nahttrenner ist. Zwar sind Nahttrenner mit Klingenrückzug auf dem Markt erhältlich, jedoch ist die Version von Slice die erste mit Klingen aus Hochleistungskeramik. Und weil es sich um Slice Sicherheitsklingen handelt, sind sie mit unserer finger-friendly® Klingenschneide ausgestattet. Die Griffe unserer Slice Nahttrenner haben ein langes, schlankes Profil und werden aus glasfaserverstärktem Nylon hergestellt. Sie sind sowohl mit unseren abgerundeten als auch spitzen Nahttrenner-Klingen kompatibel.
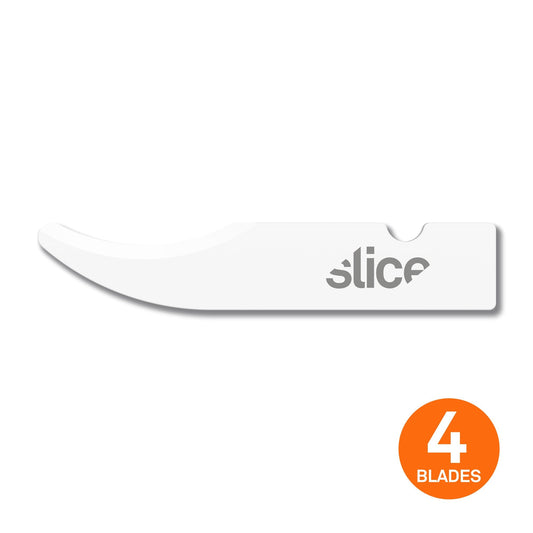
- Vorinstallierte Klinge: 10536 Nahttrenner-Klinge (abgerundet)
- Robuster Nylon-Griff
- Für Rechts- und Linkshänder geeignet
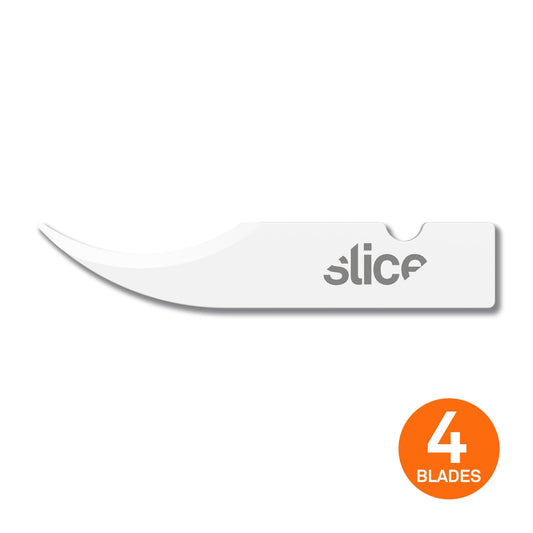
- Passende Klingen: 10536, 10537
- Finger-friendly® Sicherheitsklinge hält 11x länger als Metall
- Klinge ist chemisch neutral und rostet nicht
- Funkenfreie, nicht leitende, unmagnetische Klinge
- Öl- und schmiermittelfreie Klinge
- Minimiertes Verletzungsrisiko, geringere Kosten
- Werkzeugloser Klingentausch
- Art.-Nr. 10597
Great for:
- Cutting string and thread
- Removing stitches and opening buttonholes
- Deburring soft plastics
- Hooking and slicing film
Produktdetails
Produktdetails
Cutting Depth:
Material: GFN, POM, stainless steel, carbon steel, zirconium oxide
Dimensions: L x W x H
Weight: 0.03 kg


Videos
-
Blade Replacement for Slice Seam Rippers
Ähnliche Produkte
FAQ - Häufige Fragen
What Are the Most Popular Retractable Seam Ripper Uses?
How Is the Slice Auto-Retractable Seam Ripper Unique?
Which Blades Should I Use?
How Do I Change the Blade in the 10597 Seam Ripper?
1) Hold the seam ripper so that the slider is on top and the small grey nub is on the bottom.
2) Make sure the blade is fully retracted, as the blade-change cap cannot be removed when the blade is extended.
3) To remove the blade-change cap, push in the grey nub with your thumb and tilt the bottom of the cap away from the handle, as though there is an invisible hinge between the top of the cap and the top of the handle. Pull the cap away.
4) Once the cap is removed, extend the blade fully and remove it from its (green/orange) housing.
5) Place the new blade in the housing, ensuring that the notch lines up properly.
6) Retract the blade fully and replace the blade-change cap by hinging it back on with the same angle you used to remove it.


